How to enable IIS on Windows 10- Easy Steps
Cài đặt IIS trên Windows 10
The steps are explained with images for the easy understanding of the users. Kindly follow the below steps.
You can follow the article to Enable IIS in Windows 10 in simple steps:
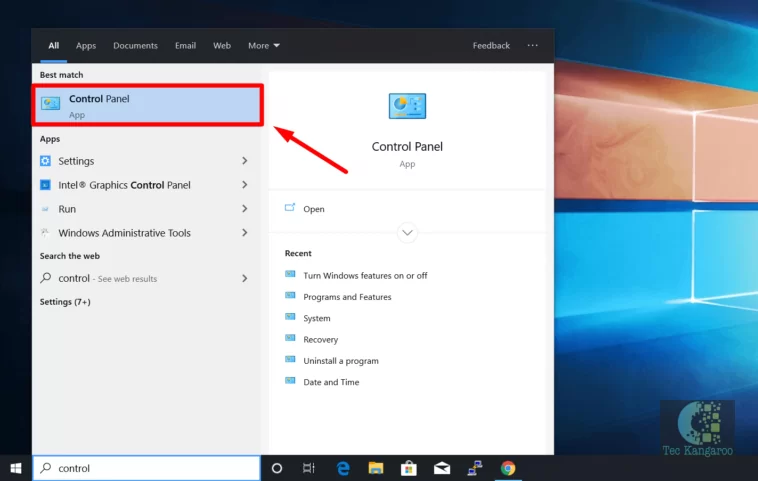
Go to Start Menu and search for Control Panel. Open Control Panel.
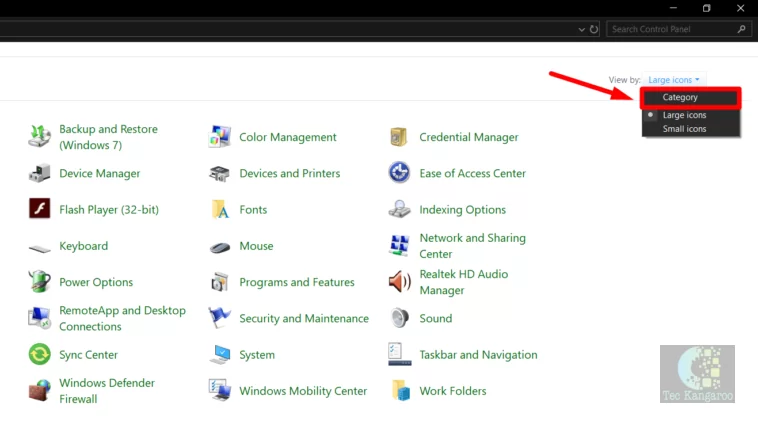
Switch the Control Panel view to Category.
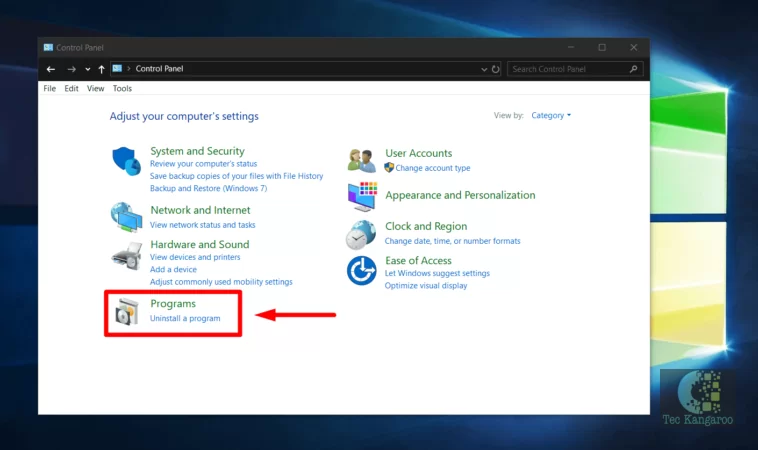
Click on Programs
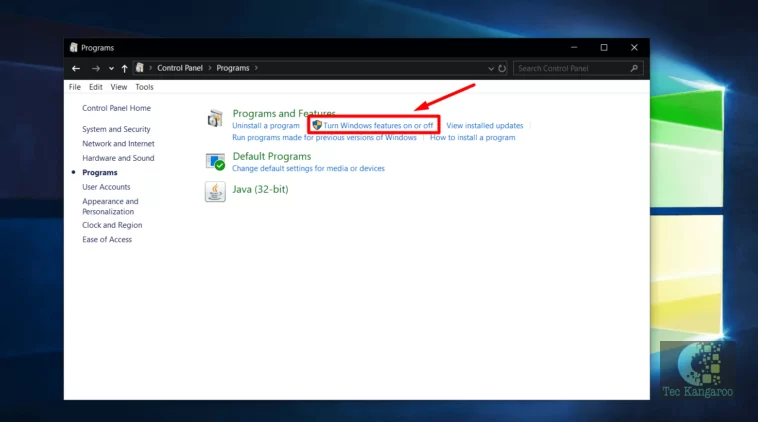
Now, proceed with "Turn Windows features on or off".
Windows Features dialog box will appear now.
Locate Internet Information Services and enable it.
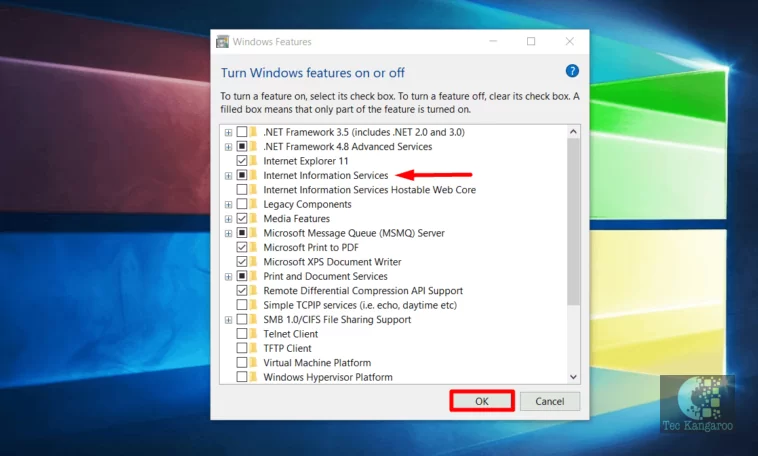
Finally, Click on OK.
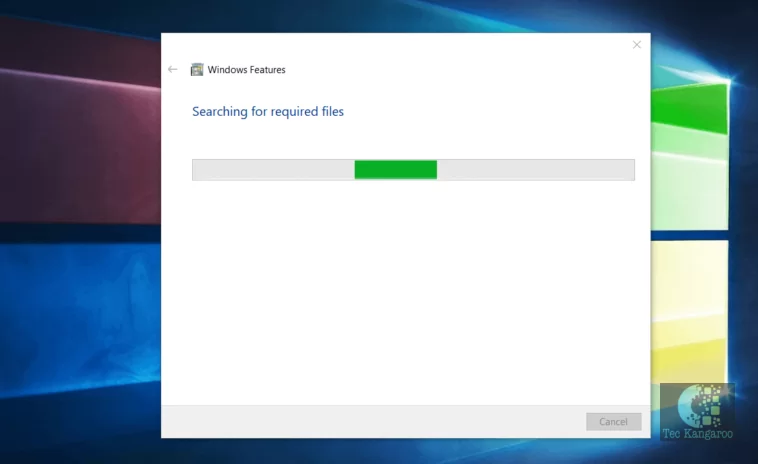
Windows will search for the required files
Finally, it will apply the changes and complete the requested changes. Click on Close
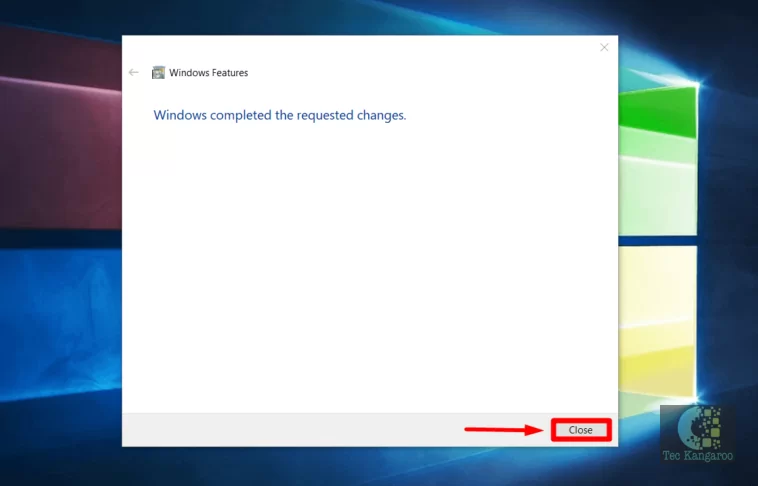
Internet Information Services(IIS) is now enabled on Windows 10.
How to Check Internet Information Services(IIS) Version on Windows 10:
Checking the IIS Version on Windows is very easy. Kindly follow the below steps.
Open Run Command using the shortcut Win Key + R.
Search for inetmgr.
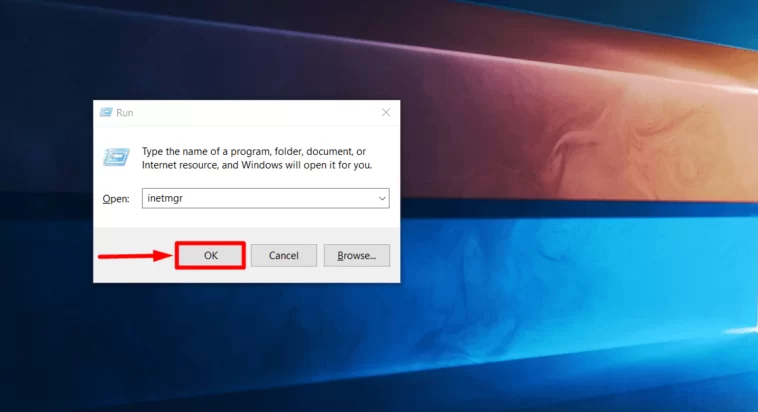
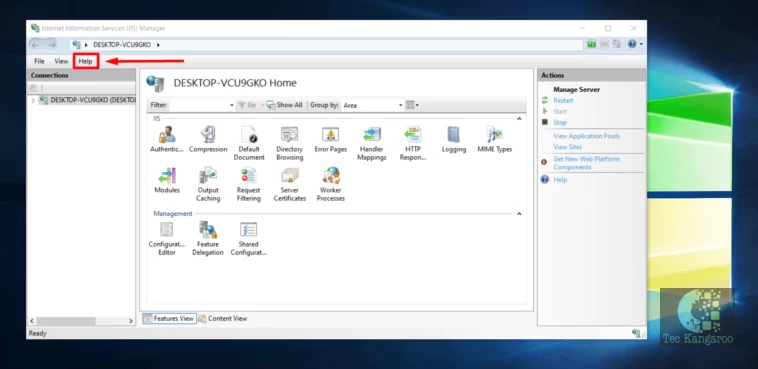
Internet Information Services(IIS) manager will open now.
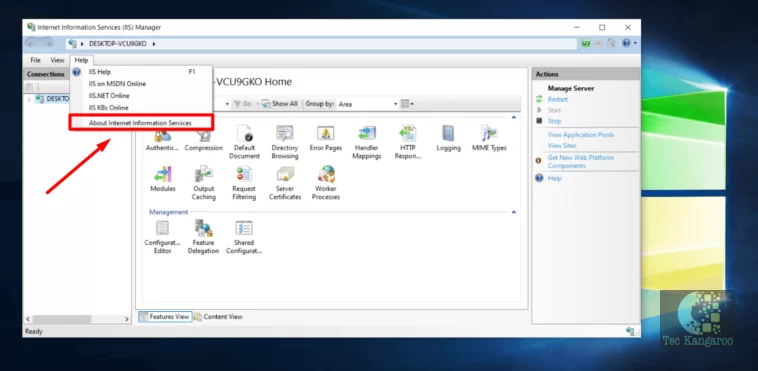
Click on Help
Go to “About Internet Information Services"
“About Internet Information Services manager" dialog box will open now.
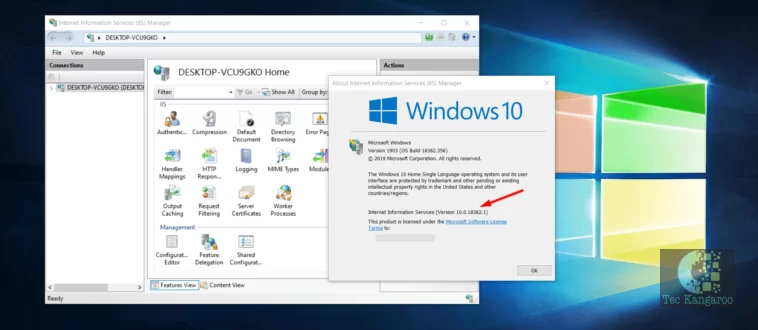
You can find the version of IIS over there.
Internet Information Services(IIS) on Windows 10 is one of the essential features for ASP.NET developers. The above article clearly discusses the steps involved in the process of enabling Internet Information Services(IIS) on Windows 10.
Xem thêm
Updated on : 2020-09-11 08:41:43. by : . at T470-01.
Topic : install_iis